How to Optimize Jenkins Pipeline Performance
Jenkins is a popular open-source automation server that is widely used for building, testing, and deploying code. Jenkins pipelines, which allow you to define and automate your entire build and deployment process, are a powerful feature of Jenkins. When you’re building a CI/CD pipeline with Jenkins, optimizing performance becomes crucial to ensure efficiency and speed in your CI/CD pipeline.
In this article, we will explore various strategies and techniques to optimize the performance of your Jenkins pipeline.

Why Optimize?
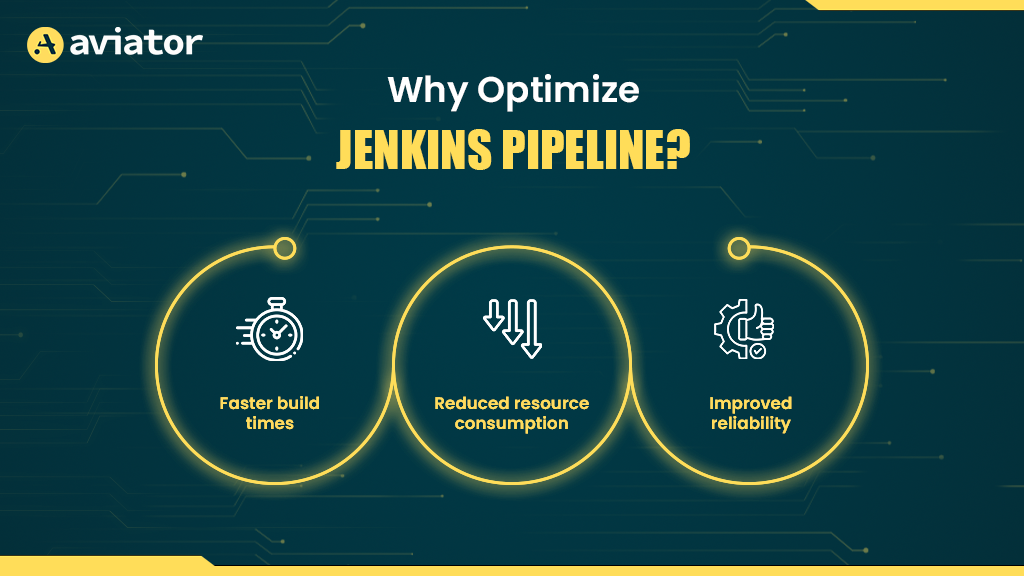
Optimizing your Jenkins pipeline offers several benefits, including:
- Faster build times: Faster pipelines mean quicker feedback for developers, which can lead to more agile and efficient development cycles
- Reduced resource consumption: Optimized pipelines consume fewer resources, which can translate to cost savings, especially in cloud-based CI/CD environments
- Improved reliability: Well-optimized pipelines are less prone to failures, leading to a more reliable CI/CD process
Let’s dive into the steps you can take to achieve these benefits.
Best Practices for Performance Optimization
Whether you’re a seasoned Jenkins administrator or just beginning to harness its power, it’s crucial to embrace best practices for performance optimization that can help you streamline your processes, minimize bottlenecks, and maximize the efficiency of your CI/CD workflows.
Here, we will explore a comprehensive set of best practices, strategies, and techniques to fine-tune your Jenkins environment. From optimizing hardware resources and pipeline design to utilizing plugins effectively, we will dive into the world of Jenkins performance tuning, equipping you with the knowledge and tools you need to ensure your Jenkins server operates at its peak potential.
Before we get into the optimization technique, I will provide a table that shows the impact and difficulty level of each technique so you can have a little imagination of what it will be like before getting in.
| Impact | Difficulty | |
|---|---|---|
| 1. Keep Builds Minimal at the Master Nodes | ⭐⭐⭐⭐ | ⭐⭐ |
| 2. Plugin Management | ⭐⭐⭐ | ⭐⭐⭐ |
| 3. Workspace and Build Optimization | ⭐⭐⭐ | ⭐⭐⭐ |
| 4. Use the “Matrix” and “Parallel” steps | ⭐⭐⭐⭐ | ⭐⭐⭐⭐ |
| 5. Job Trigger Optimization | ⭐⭐ | ⭐⭐⭐ |
| 6. Optimize Docker Usage | ⭐⭐⭐⭐ | ⭐⭐⭐⭐ |
| 7. Workspace and Artifact Caching | ⭐⭐⭐ | ⭐⭐⭐ |
| 8. Use Monitoring Tools | ⭐⭐⭐⭐⭐ | ⭐⭐⭐⭐⭐ |
Keep Builds Minimal at the Master Nodes
A key strategy is to keep builds minimal at the master node. The Jenkins master node is the control center of your CI/CD pipeline, and overloading it with resource-intensive builds can lead to performance bottlenecks, slower job execution, and reduced overall efficiency. To address this challenge and ensure a well-optimized Jenkins environment, it’s essential to distribute builds across multiple nodes and leverage the full power of your infrastructure.
The Jenkins master node should primarily serve as an orchestrator and controller of your CI/CD pipeline. It is responsible for managing jobs, scheduling builds, and maintaining the configuration of your Jenkins environment.
To keep builds minimal at the master node, we can use distributed builds.
Distributed Builds in Jenkins
Distributed builds in Jenkins involve the parallel execution of jobs on multiple agents, taking full advantage of your infrastructure resources. This approach is particularly beneficial when dealing with resource-intensive tasks, large-scale projects, or the need to reduce build times to meet tight delivery deadlines.
By distributing builds across multiple nodes in Jenkins, you can optimize performance, reduce build times, and enhance the overall efficiency of your CI/CD pipeline, ultimately delivering software faster and more reliably.
Here’s a sample Jenkins Pipeline script to demonstrate a simple distributed build setup:
pipeline {
    agent none
    stages {
        stage('Build on Linux Agent') {
            agent { label 'linux' }
            steps {
                sh 'make'
            }
        }
        stage('Build on Windows Agent') {
            agent { label 'windows' }
            steps {
                bat 'msbuild myapp.sln'
            }
        }
    }
}
In this Jenkins pipeline example, the pipeline defines two stages, each running on a specific agent labeled ‘linux’ or ‘windows’, illustrating the distribution of build tasks across different agents.
Plugin Management
Jenkins plugins extend the functionality of the platform, allowing you to add various features and integrations. However, an excessive number of plugins or outdated ones can lead to reduced performance and potential compatibility issues. Here are some best practices for optimizing performance through efficient plugin management:
- Keep Plugins up to date: Regularly updating your Jenkins plugins is crucial to ensure you have the latest features, bug fixes, and security enhancements. Outdated plugins may contain vulnerabilities or be incompatible with newer Jenkins versions, leading to performance issues or security risks.
- Uninstall unnecessary plugins: Just as important as keeping plugins up-to-date is eliminating unnecessary ones. Over time, Jenkins instances tend to accumulate plugins that are no longer needed. These unused plugins can increase overhead and slow down your pipeline execution. Regularly review your installed plugins and remove any that are obsolete or no longer in use.
- Use plugin managers: Jenkins offers several plugin management tools that can help streamline the process. Consider using plugin managers.
- Test plugin updates: Before updating a plugin, testing it in a non-production environment is essential. Plugin updates can sometimes introduce compatibility issues or unexpected behavior.
Workspace and Build Optimization
The workspace is where your pipeline jobs execute, and ensuring it’s lean and well-organized can lead to faster builds and reduced resource consumption. Here are some strategies to achieve workspace and build optimization:
- Minimize workspace size: Use the “cleanWs” step within your pipeline to remove unnecessary files from the workspace. This step helps keep the workspace clean and reduces the storage and I/O overhead, leading to faster builds. Be selective in what you clean to ensure essential artifacts and build dependencies are retained.
- Implement reusable pipeline libraries: One common source of inefficiency in Jenkins pipelines is redundant code. If you have multiple pipelines with similar or overlapping logic, consider implementing reusable pipeline.
- Artifact caching: Implement artifact caching mechanisms to store and retrieve frequently used dependencies.
- Optimize build steps: Review and optimize the individual build steps within your pipeline. This includes optimizing scripts, minimizing the use of excessive logs, and using efficient build tools and techniques. Reducing the duration of each build step can collectively contribute to faster overall pipeline execution.
Use the “Matrix” and “Parallel” Steps
Parallelism and matrix can be used in Jenkins to optimize and streamline your continuous integration (CI) and continuous delivery (CD) pipelines. They help in distributing and managing tasks more efficiently, especially when dealing with a large number of builds and configurations. Here’s how parallelism and matrices can be used for optimization in Jenkins:
Parallelism: Jenkins supports parallel execution of tasks within a build or pipeline. This is particularly useful for tasks that can be executed concurrently, such as running tests on different platforms or building different components of an application simultaneously.
Here is a Jenkins pipeline example of how to implement parallelism in Jenkins:
pipeline {
    agent none
    stages {
        stage('Build And Test') { // Rename the stage to provide a more descriptive name
            parallel {
                stage('macos-chrome') {
                    agent { label 'macos-chrome' }
                    stages {
                        stage('Build') { // Build stage for macOS Chrome
                            steps {
                                sh 'echo Build for macos-chrome'
                            }
                        }
                        stage('Test') { // Test stage for macOS Chrome
                            steps {
                                sh 'echo Test for macos-chrome'
                            }
                        }
                    }
                }
                stage('macos-firefox') {
                    agent { label 'macos-firefox' }
                    stages {
                        stage('Build') { // Build stage for macOS Firefox
                            steps {
                                sh 'echo Build for macos-firefox'
                            }
                        }
                        stage('Test') { // Test stage for macOS Firefox
                            steps {
                                sh 'echo Do Test for macos-firefox'
                            }
                        }
                    }
                }
                stage('macos-safari') {
                    agent { label 'macos-safari' }
                    stages {
                        stage('Build') { // Build stage for macOS Safari
                            steps {
                                sh 'echo Build for macos-safari'
                            }
                        }
                        stage('Test') { // Test stage for macOS Safari
                            steps {
                                sh 'echo Test for macos-safari'
                            }
                        }
                    }
                }
                stage('linux-chrome') {
                    agent { label 'linux-chrome' }
                    stages {
                        stage('Build') { // Build stage for Linux Chrome
                            steps {
                                sh 'echo Build for linux-chrome'
                            }
                        }
                        stage('Test') { // Test stage for Linux Chrome
                            steps {
                                sh 'echo Test for linux-chrome'
                            }
                        }
                    }
                }
                stage('linux-firefox') {
                    agent { label 'linux-firefox' }
                    stages {
                        stage('Build') { // Build stage for Linux Firefox
                            steps {
                                sh 'echo Build for linux-firefox'
                            }
                        }
                        stage('Test') { // Test stage for Linux Firefox
                            steps {
                                sh 'echo Test for linux-firefox'
                            }
                        }
                    }
                }
            }
        }
    }
}
This Jenkins pipeline is designed to automate the build and test processes for a software project across different operating systems and web browsers. The pipeline consists of several stages, each of which serves a specific purpose.
In the first stage, “build and test,” the pipeline leverages parallel execution to run multiple sub-stages concurrently. These sub-stages are responsible for building and testing the software on various configurations. There are dedicated sub-stages for different combinations of the operating system and web browser, including macOS with Chrome, macOS with Firefox, macOS with Safari, Linux with Chrome, and Linux with Firefox.
Matrix build: Jenkins provides a feature called “Matrix build” that allows you to define a matrix of parameters and execute your build or test configurations across different combinations. This is useful for testing your software on various platforms, browsers, or environments in parallel. Here’s an example of how a matrix pipeline can be implemented:
pipeline {
    agent none
    stages {
      stage('BuildAndTest') { // This is the main stage that includes a matrix build and test configuration.
        matrix {
          agent { // This defines the agent label for each matrix configuration.
            label "${PLATFORM}-${BROWSER}"
          }
          axes {
            axis { // This axis defines the PLATFORM variable with possible values 'linux' and 'macos'.
              name 'PLATFORM'
              values 'linux', 'macos'
            }
            axis { // This axis defines the BROWSER variable with possible values 'chrome', 'firefox', and 'safari'.
              name 'BROWSER'
              values 'chrome', 'firefox', 'safari'
            }
          }
          excludes {
            exclude { // This specifies an exclusion for the matrix based on specific PLATFORM and BROWSER values.
              axis {
                name 'PLATFORM'
                values 'linux'
              }
              axis {
                name 'BROWSER'
                values 'safari'
              }
            }
          }
          stages {
            stage('Build') { // This stage represents the build process for the selected matrix configuration.
              steps {
                sh 'echo Do Build for $PLATFORM-$BROWSER'
              }
            }
            stage('Test') { // This stage represents the test process for the selected matrix configuration.
              steps {
                sh 'echo Do Test for $PLATFORM-$BROWSER'
              }
            }
          }
        }
      }
    }
  }
Inside the BuildAndTest stage, a matrix is defined using the matrix block. This matrix configuration involves different axes, PLATFORM and BROWSER, which specify combinations of operating systems (linux and macOS) and web browsers (Chrome, Firefox, and Safari).
Certain combinations, such as linux with safari, are excluded, meaning they wont be part of the automated tests. For each combination, there are two sub-stages:BuildandTest. In theBuildsub-stage, a command is executed to build the software for the specific combination, and in theTest` sub-stage, a test command is executed to verify the software’s functionality. The pipeline will run these sub-stages in parallel for all valid combinations, resulting in efficient testing and building across different environments.
By using parallelism and matrix combinations in Jenkins, you can significantly reduce the time it takes to test your software or run various configurations, thereby optimizing your CI/CD pipeline.
Job Trigger Optimization
Continuous integration pipelines can be triggered by various events, such as code commits, pull requests, or scheduled runs. However, triggering jobs too frequently can strain your Jenkins server and slow down the overall process. To implement this you can:
- Consider using a sensible trigger strategy, e.g., triggering a job only on important events like code merges to the main branch. You can configure webhooks or use the Jenkinsfile to control the trigger conditions.
- Jenkins provides a “quiet period” feature that introduces a delay before starting a job after a trigger event. This can be particularly useful to batch multiple job executions triggered by consecutive commits. Adjust the quiet period to allow Jenkins to batch related jobs together, reducing the frequency of builds and optimizing resource usage.
Optimize Docker Usage
If your Jenkins pipeline utilizes Docker containers for building and testing, be mindful of the number of containers that run simultaneously. Running too many containers concurrently can exhaust system resources and impact performance.
Adjust your Jenkins configuration to limit the maximum number of containers that can run concurrently based on the available system resources.
Use Docker Image Caching
Docker image caching can significantly reduce the time it takes to set up the necessary environment for your builds. When a Docker image is pulled, it is stored locally, and subsequent builds can reuse this cached image.
Implement a Docker image caching strategy in your Jenkins pipelines to minimize the need for frequent image pulls, especially for base images and dependencies that don’t change often. This can significantly speed up your build process.
Workspace and Artifact Caching
Workspace and artifact caching are essential optimization techniques in Jenkins that can significantly improve build and deployment efficiency. Workspace caching helps reduce the time required to check out and update source code repositories, while artifact caching helps speed up the distribution of build artifacts.
Workspace caching:
Workspace caching allows Jenkins to cache the contents of a workspace so that when a new build is triggered, it can reuse the cached workspace if the source code has not changed significantly. This is particularly useful for large projects with dependencies and libraries that do not change frequently.
Here’s an example Jenkinsfile script that demonstrates workspace caching using the Pipeline Caching plugin:
pipeline {
    agent any
    options {
        // Configure workspace caching
        skipDefaultCheckout()
        cache(workspace: true, paths: ['path/to/cache'])
    }
    stages {
        stage('Checkout') {
            steps {
                script {
                    // Checkout source code manually
                    checkout scm
                }
            }
        }
        stage('Build') {
            steps {
                // Your build steps here
            }
        }
    }
}
Artifact Caching:
Artifact caching involves caching build artifacts (e.g., compiled binaries, build outputs) so that subsequent builds can reuse them rather than recompiling or regenerating them. This can save a significant amount of time and resources.
To cache build artifacts, you can use the “stash” and “unstash” steps in your Jenkinsfile:
pipeline {
    agent any
    stages {
        stage('Build') {
            steps {
                // Build your project
                sh 'make'

                // Stash the build artifacts
                stash name: 'my-artifacts', includes: 'path/to/artifacts/**'
            }
        }
        stage('Test') {
            steps {
                // Unstash and use the cached artifacts
                unstash 'my-artifacts'

                // Run tests using the cached artifacts
            }
        }
    }
}
Use Monitoring Tools
Monitoring tools are essential for optimizing Jenkins pipelines and ensuring they run smoothly and efficiently. They provide insights into the performance and health of your Jenkins infrastructure, helping you identify and address bottlenecks and issues. Here are a few monitoring tools you can use in Jenkins:
- Prometheus and Grafana: Prometheus is a popular open-source monitoring and alerting toolkit, and Grafana is a visualization platform that works well with Prometheus. You can use the “Prometheus Metrics Plugin” in Jenkins to expose Jenkins metrics to Prometheus, and then create dashboards in Grafana to visualize these metrics.
- Jenkins monitoring plugin: The Jenkins Monitoring Plugin allows you to monitor various aspects of Jenkins, including build queue times, node usage, and system load. It provides useful information for optimizing Jenkins infrastructure.
- SonarQube integration: SonarQube is a tool for continuous inspection of code quality. Integrating SonarQube with Jenkins allows you to monitor code quality and identify areas for improvement in your projects.
Using these monitoring tools in Jenkins, you can gain insights into your pipelines’ performance and resource utilization, allowing you to make informed decisions for optimization and troubleshooting.
Conclusion
In conclusion, optimizing performance in your Jenkins pipeline is crucial for achieving faster, more efficient, and reliable continuous integration and continuous delivery processes. Jenkins is a powerful automation server, and by implementing a variety of best practices and techniques, you can ensure that it operates at its peak potential. This article has explored various strategies to achieve performance optimization in your Jenkins pipeline, particularly when publishing Docker images to DockerHub.
The benefits of optimization of the Matrix Project are evident, with faster build times, reduced resource consumption, and improved reliability being at the forefront. Ensuring that your Jenkins pipeline operates efficiently can lead to more agile development cycles, cost savings, and a dependable CI/CD process.
FAQs
What Is a Jenkins File Used For?
A Jenkins file is used to define a Jenkins pipeline as code. It contains the steps and stages of the build, test, and deployment process, allowing version control, automation, and easier collaboration within teams.
What Are the 2 Types of Pipelines Available in Jenkins?
It supports two types of pipelines: Jenkins declarative pipeline and Jenkins scripted pipeline. Jenkins pipeline syntax for declarative approach is simpler and more structured which is recommended for most users, making pipeline code easier to read and maintain. Scripted Pipeline, on the other hand, is based on Groovy and offers more flexibility and control, suitable for complex workflows.
How to Make Jenkins Highly Available?
To make Jenkins highly available, you can set up a master-agent architecture with multiple agents to distribute the load and use a backup Jenkins master with shared storage for job configurations and build artifacts. Tools like Kubernetes, Docker Swarm, or HAProxy can help manage failover, scaling, and load balancing.
Is Jenkins Like GitHub?
No, Jenkins is not like GitHub. Jenkins is a CI/CD automation tool used to build, test, and deploy code, while GitHub is a code hosting platform for version control using Git. However, they can be integrated as what Jenkins can do is pull code from GitHub to automate workflows.
Aviator: Automate Your Cumbersome Processes
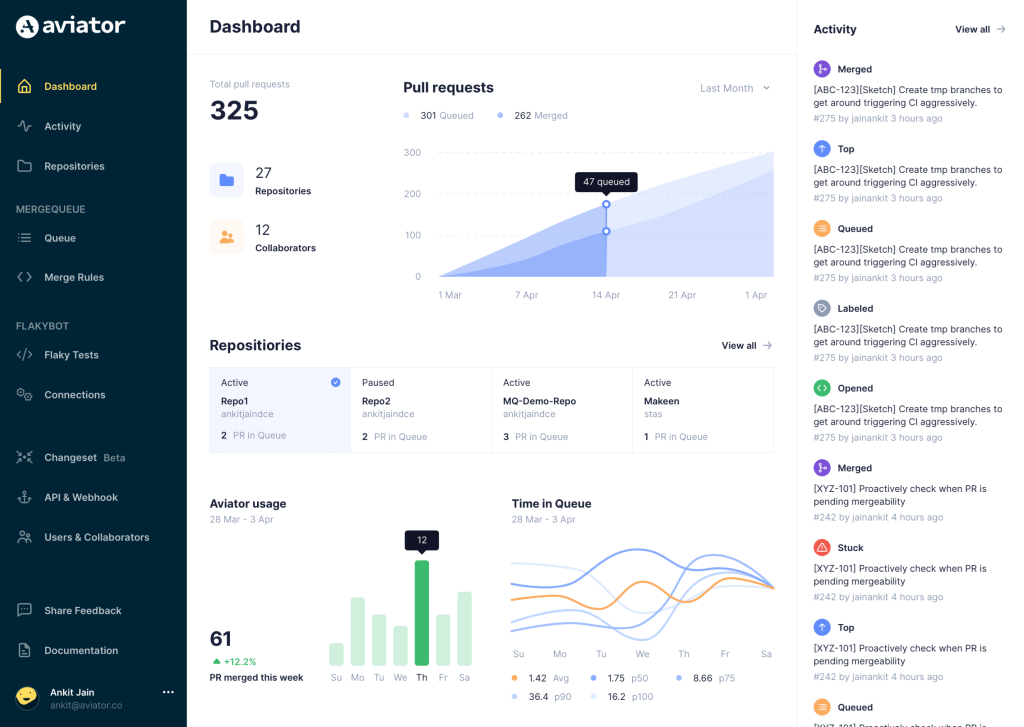
Aviator automates tedious developer workflows by managing git Pull Requests (PRs) and continuous integration test (CI) runs to help your team avoid broken builds, streamline cumbersome merge processes, manage cross-PR dependencies, and handle flaky tests while maintaining their security compliance.
There are 4 key components to Aviator:
- MergeQueue – an automated queue that manages the merging workflow for your GitHub repository to help protect important branches from broken builds. The Aviator bot uses GitHub Labels to identify Pull Requests (PRs) that are ready to be merged, validates CI checks, processes semantic conflicts, and merges the PRs automatically.
- ChangeSets – workflows to synchronize validating and merging multiple PRs within the same repository or multiple repositories. Useful when your team often sees groups of related PRs that need to be merged together, or otherwise treated as a single broader unit of change.
- TestDeck – a tool to automatically detect, take action on, and process results from flaky tests in your CI infrastructure.
- Stacked PRs CLI – a command line tool that helps developers manage cross-PR dependencies. This tool also automates syncing and merging of stacked PRs. Useful when your team wants to promote a culture of smaller, incremental PRs instead of large changes, or when your workflows involve keeping multiple, dependent PRs in sync.

